The laboratory allows for conducting classes in the field of coordinate measurement technique and reverse engineering.
The laboratory is equipped with the following Carl Zeiss coordinate measuring machines.
 |
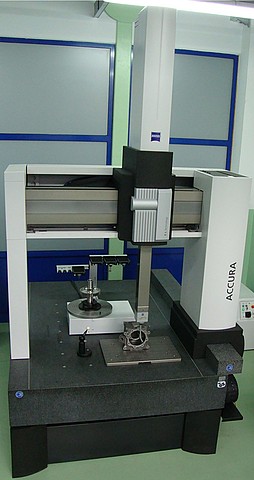
ACCURA II This machine is characterized by the following measuring ranges: X 900 mm, Y 1600 mm, Z 800 mm. The ACCURA II coordinate measuring machine works with: - VAST XT, VAST XXT (with a tilt-rotary module), LineScan (laser head) measuring heads, - rotary table, - a stylus warehouse, - CALYPSO (CURVE, PLANNER), HOLOS, BLADE PRO, GEAR PRO, ZEISS REVERSE ENGINEERING programs. Additionally, the ACCURA II coordinate measuring machine is equipped with a wide range of both styli and extension cords. Their replacement can be carried out automatically during the execution of the measurement program, which translates into a reduction in the measurement time. |
 |
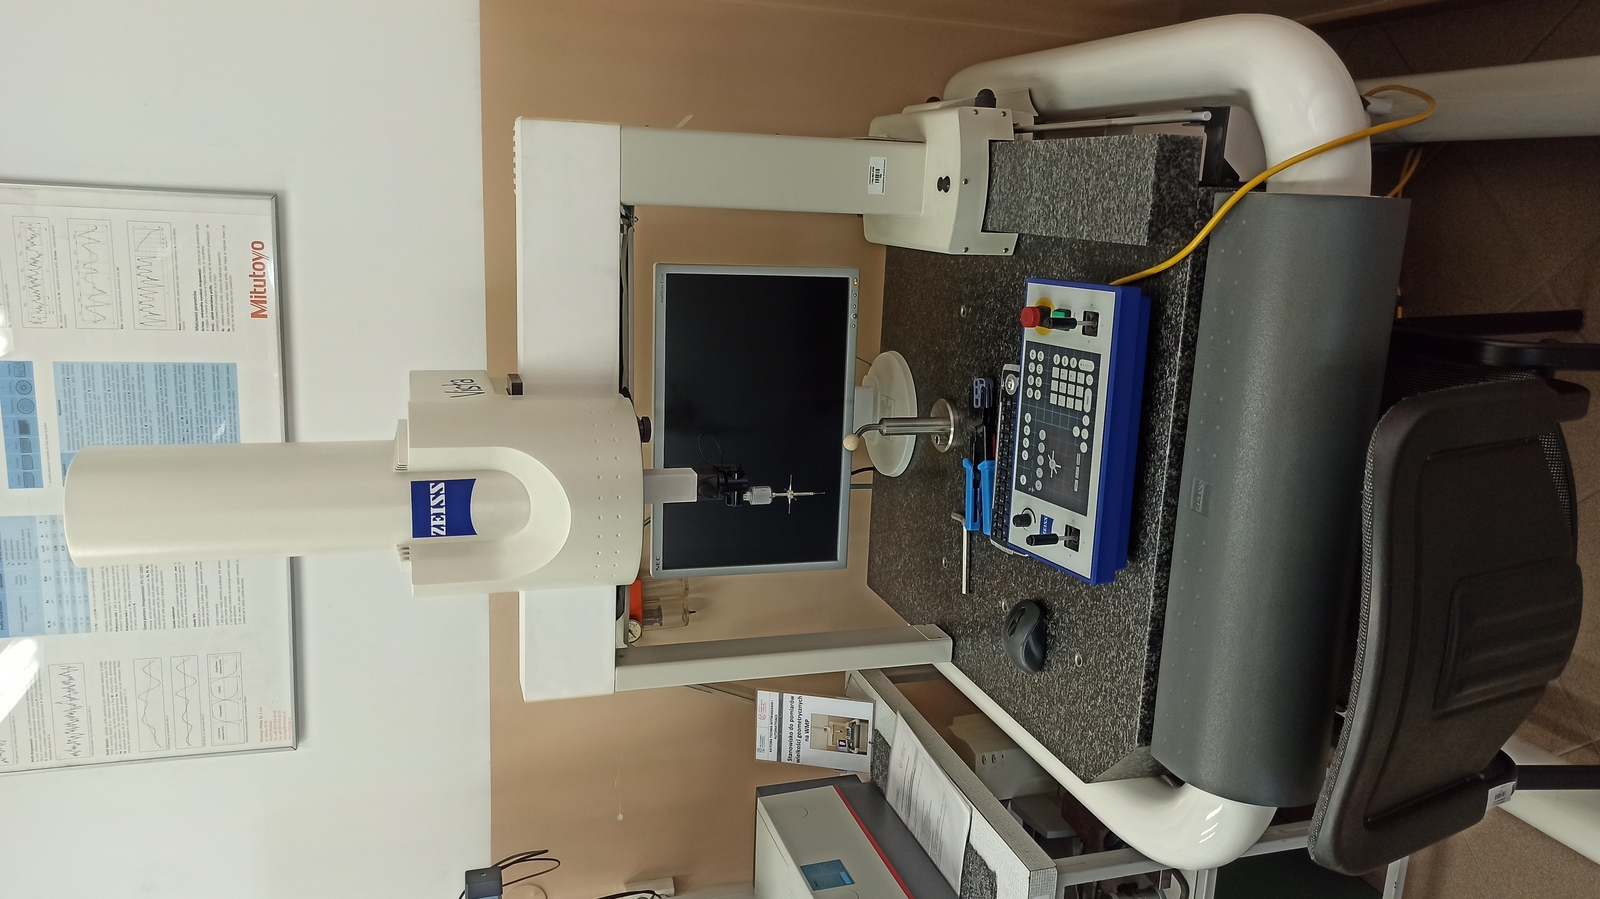
VISTA This machine is characterized by the following measuring ranges: X 400 mm, Y 500 mm, Z 350 mm. VISTA is equipped with an electrostatic contact head that enables measurements in the point sampling mode and cooperates with the CALYPSO software.
|
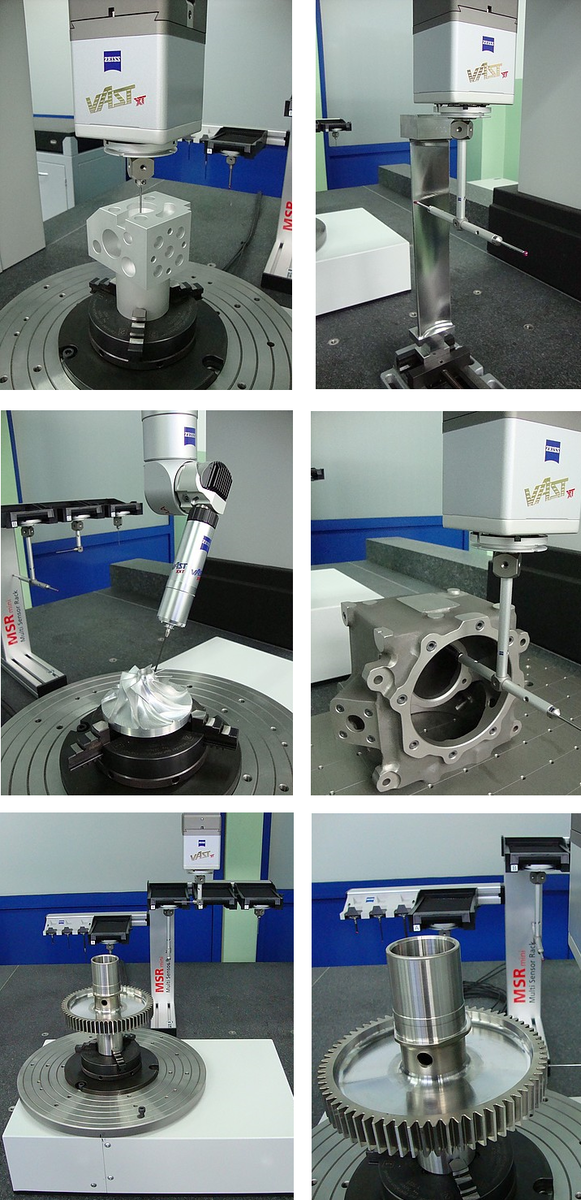
ACCURA II enables the measurement and digitization of objects characterized by regular geometric shapes, curves and curved surfaces of products, blades, cylindrical gears with straight and helical teeth and bevel gears. Selected coordinate measurements performed at the Department of Manufacturing and Automation Techniques are shown in the figures below.

Due to the MASS (multi application sensor system) option, these measurements can be performed with the use of three measuring heads (VAST XT, VAST XXT, LineScan). Their use is conditioned, inter alia, by required measurement accuracy and measurement time.
Gear measurements can be carried out using a rotary table, which ensures high accuracy and shortens the time of coordinate measurements. If you need to measure large-size products - the rotary table can be dismantled, which leads to an increase in the measuring range of the ACCURA II measuring machine.
Programming the measurement process can be carried out in two modes: on-line and off-line. Off-line mode is possible by using the CALYPSO PLANNER program. This software is installed on 16 Dell computer workstations connected in a LAN network and allows you to optimize the measurement program in terms of, inter alia, the accuracy of coordinate measurements and checking it for possible collisions. The measurement program, which is created off-line by means of CALYPSO PLANNER, is verified by students and employees of the Department during actual measurements.
Contact persons:
Marek Magdziak, D.Sc. Associate Professor


